
Home Repair Know-How, Inspiration

Gas Dryer Installation Site Photo Examples

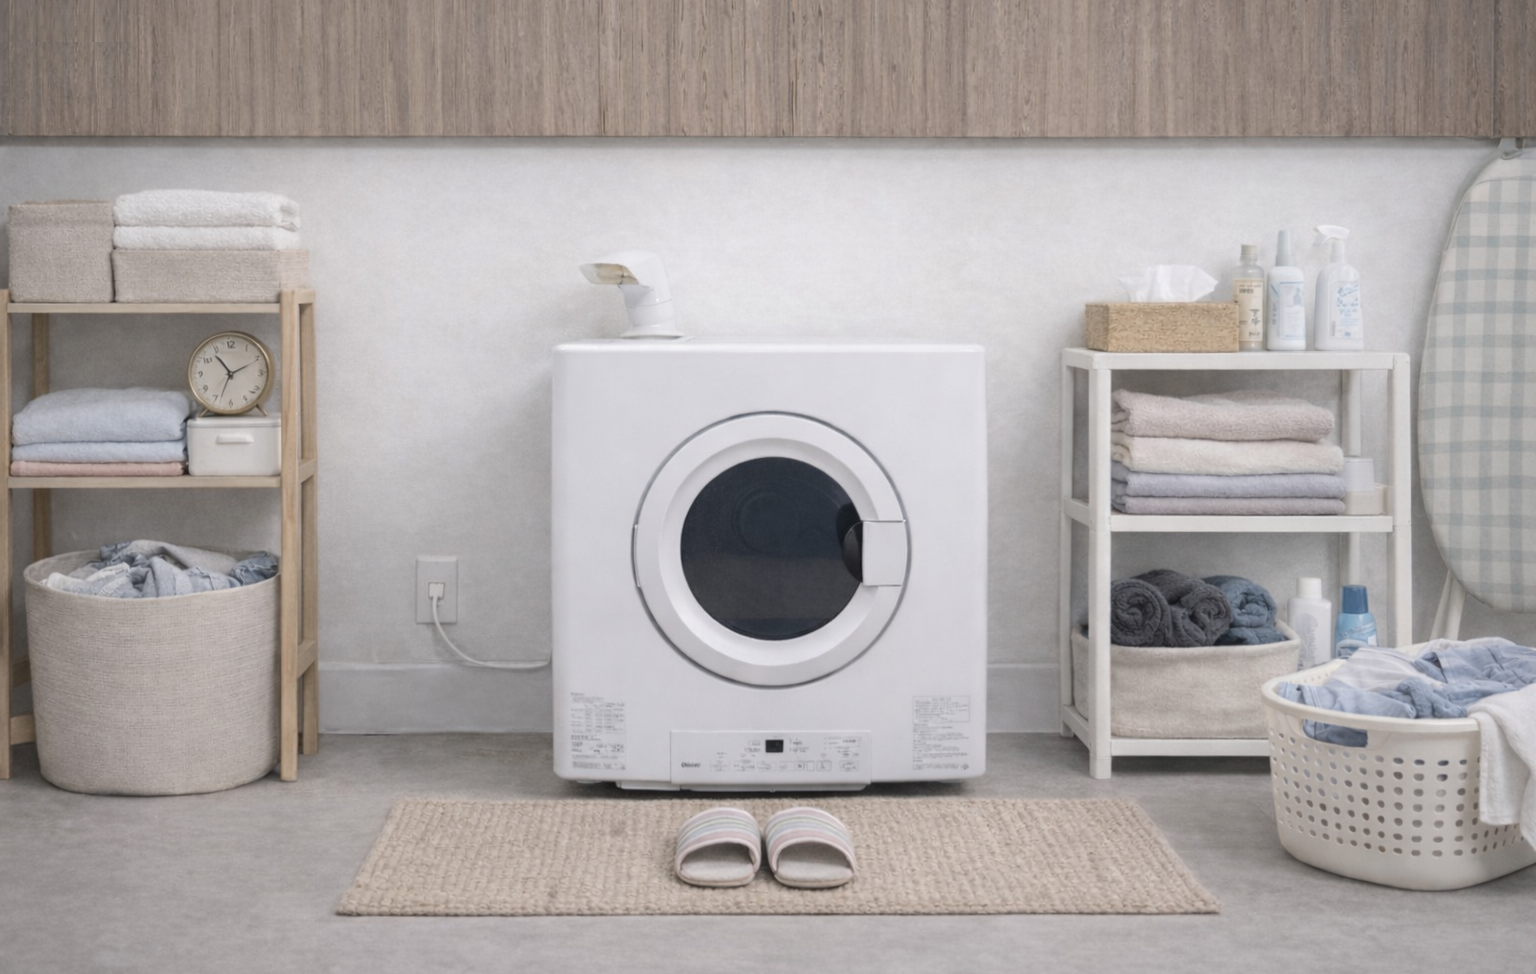
Measuring the dryer wall - cover

Key photos for a gas dryer installation quote

Please provide photos of the installation site: take several shots from different angles, both far and close, including the surroundings. Include the spot where the dryer will be installed, the surroundings above, below and to the left and right, as well as the gas lines, nearby equipment and any obstacles. Once we understand the full picture, we can serve you and provide a quote.

If you're not sure what to photograph for Hongchi, here are some examples for your reference

Measuring the dryer wall - cover
Every installation environment is different; for reference only

Example photos needed for a dryer installation quote

To illustrate the photo guide, the example photos here are not necessarily from the same site

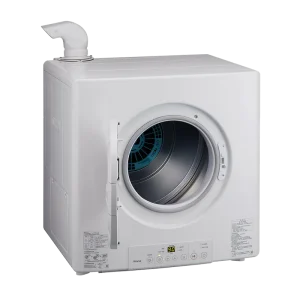
To allow our technicians to confirm the installation conditions for the Rinnai gas dryer RDT-62-TR-W and RDT-90-TR-W before arriving on site

  • Dryer placement and installation height
  • Installation space for a dedicated elevated stand or wall-mounted bracket
  • How the gas line will be branched and extended
  • Direction in which the exhaust pipe will run
  • Location of power sockets
  • Whether the water heater, clothes-drying poles, windows and other equipment will interfere with each other
  • Space for installers to access the site and move equipment

The photos don't need to be beautiful, and you don't need to clear out your balcony; the most important thing is to capture the equipment, pipes and surrounding space completely from different angles.
If clothes, towels, laundry baskets or other items completely cover the gas lines, sockets, windows or the intended installation spot, please move them aside slightly before taking photos, so our technicians can assess correctly.

Step 1: Overall balcony view (wide shot)
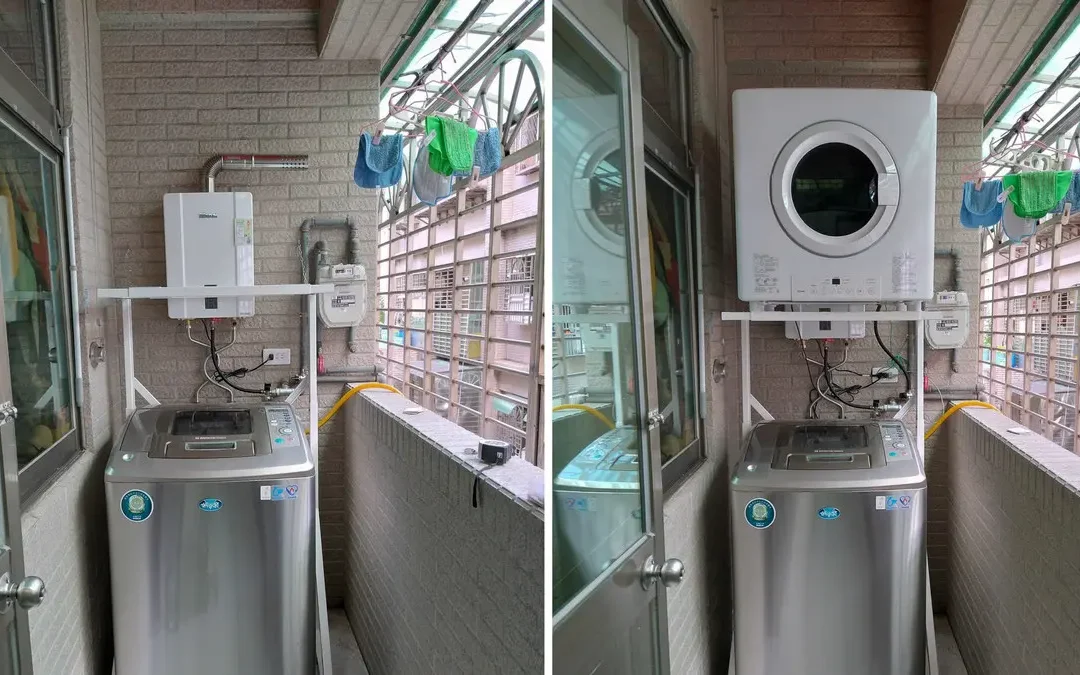
Hongchi - dryer quote photo example - wide shot from the balcony door

What to capture: Step back a few paces and photograph the “full view” of the intended installation area.

Why it's needed: To assess the balcony's ventilation and all the equipment on it, such as the gas meter, water heater, sockets, washing machine, gas pipes and clothes-drying poles, their relative positions, and whether windows have been installed.

Stand at the balcony entrance or shoot outwards from indoors, trying to include the following in the frame:

  • Ceiling
  • Floor
  • Washing Machines
  • Water Heaters
  • Sink
  • Windows or balcony opening
  • Clothes-drying poles
  • Walls on both sides
Purpose of the photos

To confirm the balcony's overall layout, ventilation conditions and the relative positions of equipment, as well as the space for moving the dryer and for installers to get in and out.
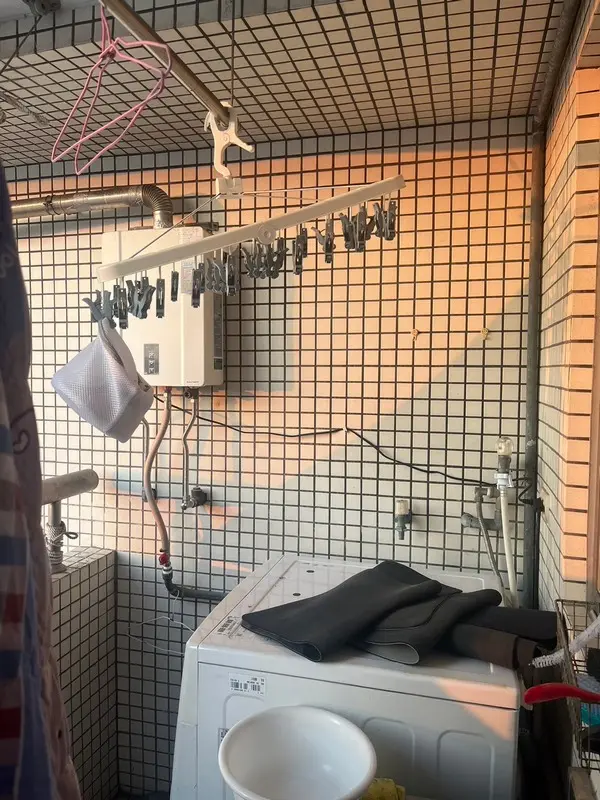
Hongchi - dryer quote photo example - wide shot from another angle

Please provide wide shots from several different angles

Taking only one front-on photo often leads to the following problems:

  • You can see the washing machine, but not the clearance above it
  • You can see the water heater, but not the pipes underneath
  • You can see the gas valve, but can't tell where the line runs from
  • You can see the window, but can't tell whether the exhaust pipe can pass through it
  • You can see the intended installation spot, but can't confirm whether there are obstacles on either side
  • Equipment or clutter blocks the space behind, making it impossible to determine the actual installation method

So please don't take all your photos from the same spot. We recommend moving along the balcony entrance, both sides and in front of the equipment, taking shots from far, close, above and below.

If a spot is blocked by the washing machine, water heater or other items, you can also take additional photos from the other side. Photos from different angles complement each other, giving our technicians a view closer to actually being on site.

⚠️ Please mainly send “still photos” rather than just video files.
Still photos make it easier for our technicians to zoom in on pipes, connectors, sockets and equipment positions, and to compare different angles. Videos can serve as supplementary explanations of the spatial layout or site conditions, butclear photos from each angle are still required; videos cannot fully replace photos。
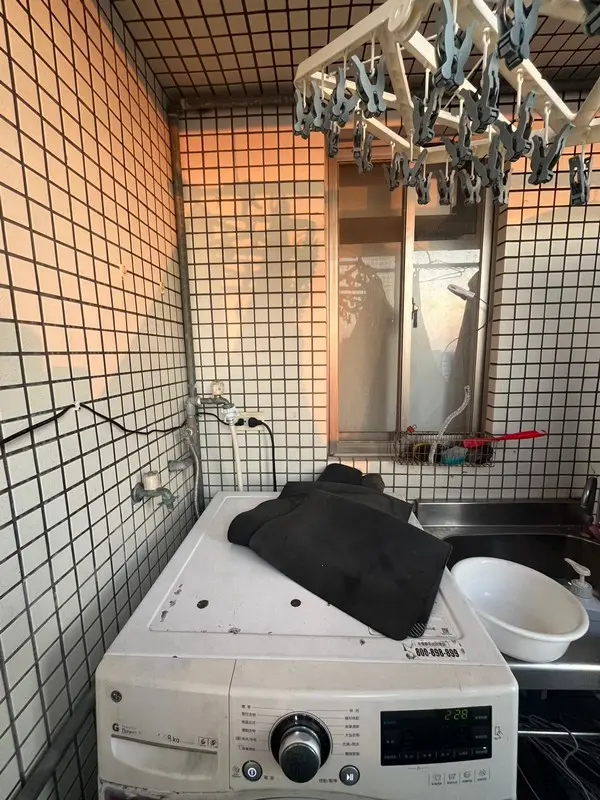
Step 2: Intended installation spot (close-up + above, below, left and right)
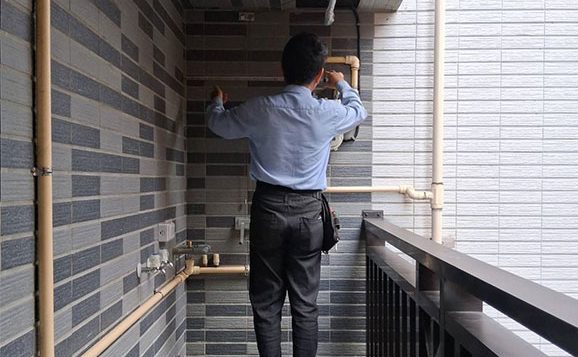
Hongchi - dryer photo example - above the planned installation spot

What to capture: Focus on the wall space above the washing machine or where the dryer will be placed

Why it's needed: Confirm whether the width and height of the intended spot are sufficient for a “dedicated elevated stand” or “wall-mounted bracket”, and check the wall for obstacles (such as the water heater, gas meter, wall lights, air-conditioner outdoor unit, gas lines, water pipes, or handles and accessories of retractable clothes-drying racks).

Hongchi - dryer quote photo example - back wall by the window

If the back of the intended spot is a window or a windowsill

please also take photos showing the current height of the parapet wall and whether there are walls on the left and right, and take wide shots that include the ceiling and the side walls as well
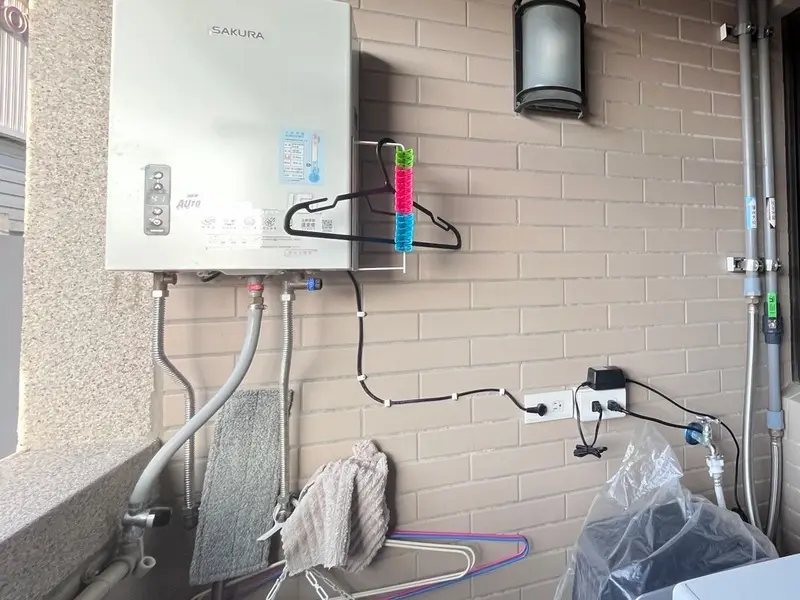
 

Step 3: Gas Lines and Valves (Close-up)
Hongchi - dryer photo example - close-up of gas valve and socket

What to capture: A close-up of the nearby natural gas/LPG lines, gas cock and the reserved power outlet

Why it's needed: Assess whether a gas tee or a dedicated excess-flow valve for the dryer needs to be added

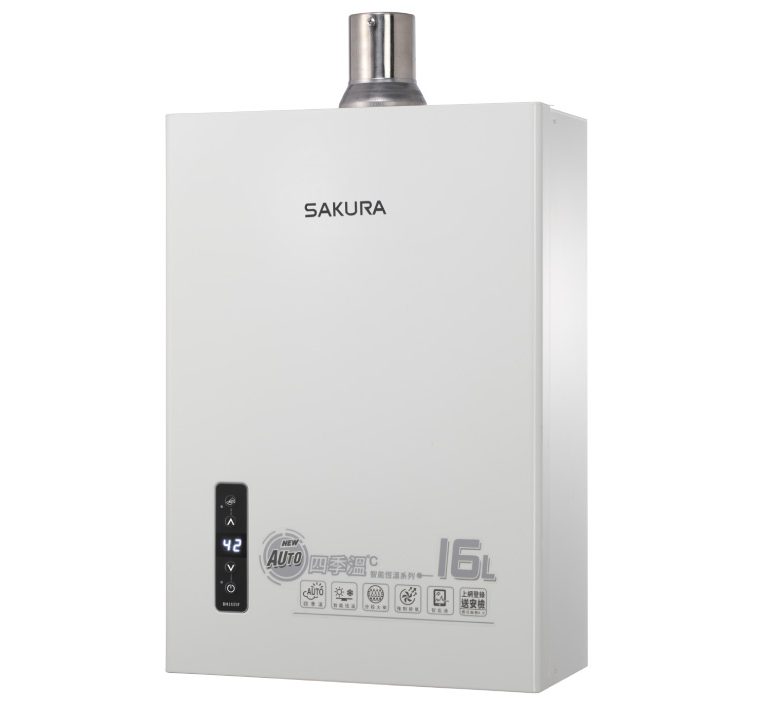
Because valve handle colors and flow standards vary by brand, and renovating an older home often calls for upgrading the water heater at the same time (e.g. a high-flow 16L model), we will prepare suitable gas valves and dedicated piping on site as needed.

Hongchi - dryer photo example - socket close-up

Power Outlets and On-site Obstacles

Why it's needed: Avoid wall-mounted obstacles (such as special faucets or existing water heater wiring), and check the number of outlets and electrical safety.

If an older home's balcony has only one outlet, we need to assess whether to use a three-way outlet splitter, or plan a separate power adjustment for high-consumption appliances.

Step 4: Exhaust and Drainage Space (Side View / Close-up)
Hongchi - dryer quote photo example - assessing moisture exhaust needs

What to capture: The window opening or vent hole where the exhaust pipe is planned to exit

Why it's needed: A gas dryer releases moisture while running, so we need to check whether the balcony is fully open. If there are windows, we recommend using an exhaust pipe, and the pipe's routing and its path through the wall or out of the window must be confirmed first.

If aluminum windows will be installed later, please let us know in advance

If, at the time of the assessment, you are planning toinstall new or additional aluminum windows, and need to reserve a sealed exhaust-pipe opening for the dryer,

feel free to consulta Hongchi technician! We can give you precise recommendations on the “reserved exhaust pipe diameter” and the “optimal opening position”, so your custom aluminum windows are done right the first time, with no pitfalls.


Friendly reminder: It's fine if your photos aren't perfect on the first try!

Photos are only the first step. If you happen to haveTape Measureson hand, please measure the width and height of the space; or let us know thewashing machine brand and modelyou plan to pair it with, and the technician's assessment will be even more accurate!

If your site is unusual, or you're not sure whether you took the right photos, don't worry at all!

Once you add us on LINE and send your photos, Hongchi's customer service staff will chat with you online and kindly guide you through any additional details.

👇 Ready? Click the button below to send your photos directly and get an online assessment from our specialists!

Add our official LINE account as a friend
Hongchi Plumbing & Electrical Hardware Supplies & Repair

Installation quotes, plumbing & electrical hardware sourcing, customer service

LINE QR CODE @HC888

Leave a Reply